
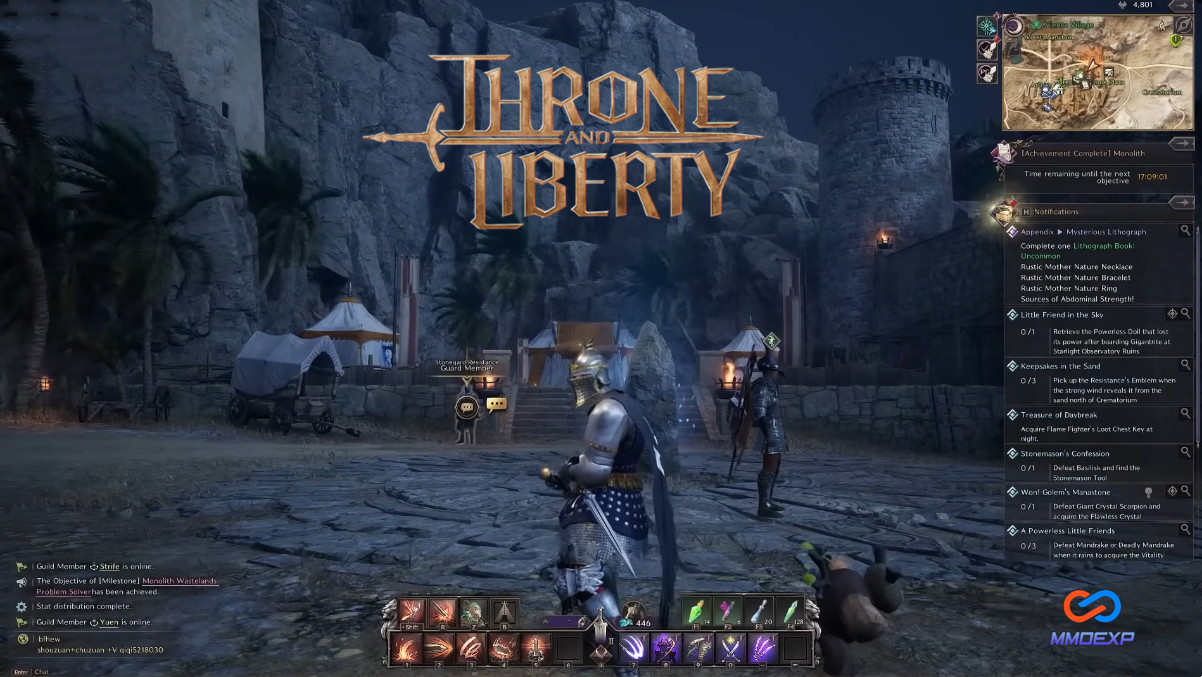
In Throne and Liberty, players are constantly exploring the vast world of Elyos, filled with dungeons, raids, and formidable bosses. One of the most challenging and rewarding dungeons in the game is Taedal’s Tower. Known for its complex mechanics, tough enemies, and high-stakes loot, this dungeon is a favorite for players looking to test their skills and earn powerful rewards.
In this comprehensive guide, we’ll walk you through the Taedal’s Tower Dungeon, providing insights on its layout, key mechanics, strategies for overcoming bosses, and tips to maximize your loot potential in Throne and Liberty Lucent.
Overview of Taedal’s Tower
Taedal’s Tower is a high-level dungeon designed for experienced players who are seeking a challenge. The dungeon is located in the Elysian Region, a mystical area filled with both natural beauty and deadly threats. The Tower itself is a massive structure, said to be the last known residence of the ancient sorcerer Taedal, who infused it with dangerous magic before his demise.
Inside the tower, players will face waves of enemies, challenging puzzles, and multi-phase boss fights. The dungeon is particularly famous for its complexity and the rewards it offers. Players can expect high-quality loot, including rare crafting materials, powerful gear, and legendary items, making it a highly sought-after location.
Dungeon Difficulty
Recommended Level: 50-60
Group Size: 4-8 players (depending on difficulty setting)
Dungeon Type: Multi-floor dungeon with boss encounters
The difficulty of Taedal’s Tower scales with the number of players in the group and the specific difficulty level selected. The higher the difficulty, the more rewards you’ll earn, but also the more challenging the encounters will become. As such, this dungeon is ideal for a full party of well-geared players who can take on complex mechanics and survive the intense fights.
Dungeon Layout
Taedal’s Tower consists of five floors, each featuring a different set of enemies, environmental hazards, and unique challenges. Players will need to clear each floor before advancing to the next, with bosses appearing at the end of certain floors to provide a climactic challenge. Here’s a breakdown of the general layout:
Floor 1: The Haunted Halls
Enemies: Ghostly enemies, spectral knights, and cursed archers.
Challenges: Moving platforms and timed traps that require quick reflexes.
Mini-Boss: The Phantom Knight, who telegraphs his attacks with glowing red markers on the ground.
Floor 2: The Elemental Rift
Enemies: Fire, ice, and lightning elementals with varying elemental affinities.
Challenges: Players must manage environmental hazards like flame jets, ice spikes, and lightning storms while fighting the enemies.
Mini-Boss: The Elemental Guardian, a large creature that can shift between elemental forms.
Floor 3: The Labyrinth of Deceit
Enemies: Illusion-based enemies that can create duplicates of themselves.
Challenges: Players must navigate through a maze of illusionary walls and false paths while fighting illusions and traps.
Mini-Boss: The Illusionist, who can create illusions of the players, forcing them to fight their own doppelgangers.
Floor 4: The Abyssal Pit
Enemies: Demon minions, dark creatures, and cursed beasts.
Challenges: The floor is filled with poison clouds and pits that deal continuous damage. Players must avoid these areas to survive.
Mini-Boss: The Abyssal Warden, a massive demon that uses heavy AoE attacks and summons minions to overwhelm players.
Floor 5: Taedal’s Sanctum
Enemies: Taedal’s loyal guardians and shadow magic creatures.
Challenges: The final floor features numerous mini-bosses, requiring players to manage multiple threats while navigating through powerful arcane traps.
Final Boss: Taedal, the Sorcerer King, who uses both magic and summoning abilities to create deadly combinations of attacks.
Key Mechanics to Know
While each floor has its own unique challenges, there are several key mechanics that players must be aware of in order to succeed in Taedal’s Tower.
1. Timed Traps and Environmental Hazards
On various floors of the dungeon, players will encounter environmental traps such as pressure plates, flame jets, ice spikes, and collapsing floors. Some traps are easy to avoid, while others require precise timing and quick thinking. For example, in Floor 1, players must avoid triggering the pressure plates that activate flame jets, which can deal massive damage if stepped on.
2. Illusion Mechanics
The Labyrinth of Deceit (Floor 3) features an illusion mechanic where players are confronted by enemies that can duplicate themselves, creating confusion. These illusions often look identical to the real enemy, making it hard to determine which one is the true threat. Players must pay close attention to the subtle differences in movement and attack patterns to avoid wasting time and resources on the wrong targets.
3. Elemental Affinities
Throughout Floor 2, players will face enemies with elemental affinities—fire, ice, and lightning. Each of these enemies has specific weaknesses, and players will need to adapt their strategies to exploit them. For instance, fire enemies are weak to water-based attacks, while ice enemies are susceptible to fire spells. Equipping gear that enhances elemental damage or resistance can also be crucial for success on this floor.
4. Poison Clouds and Debuffs
The Abyssal Pit (Floor 4) introduces poison clouds that continuously drain health from players standing in them. Players must constantly be on the move, avoiding areas where the poison is most concentrated. Additionally, some enemies in this area will inflict debuffs that lower resistances or reduce healing effectiveness, requiring players to use specific purging abilities or consumables.
5. Summoning and AoE Attacks
The final boss, Taedal, the Sorcerer King, is notorious for his ability to summon minions during the fight, adding a layer of complexity to the encounter. His AoE (Area of Effect) magic attacks can decimate unprepared players, so positioning is key to avoid taking massive damage. Coordinating with your team to target minions while avoiding Taedal’s devastating AoEs is essential for a successful fight.
Boss Fight Strategies
Now that we’ve covered the dungeon layout and mechanics, let’s break down how to approach each boss fight in Taedal’s Tower.
1. Phantom Knight (Floor 1)
Phase 1: The Phantom Knight telegraphs his attacks with glowing red markers on the ground. Avoid standing in these areas to avoid massive damage.
Phase 2: After reaching 50% health, the Phantom Knight will summon spectral minions to assist him. Focus on quickly clearing these minions to avoid getting overwhelmed.
Strategy: Assign a tank to draw the Knight’s attention while DPS focuses on the boss. Healers should keep everyone topped off, especially during his AoE attacks.
2. Elemental Guardian (Floor 2)
Phase 1: The Elemental Guardian shifts between fire, ice, and lightning forms. Each form has different abilities, such as fireballs, ice spikes, and lightning bolts. Be prepared to dodge and use elemental-based abilities to exploit weaknesses.
Phase 2: The Guardian will summon smaller elementals to assist in the fight. These must be quickly dealt with to prevent the group from being overwhelmed.
Strategy: Assign roles based on elemental resistance. Fire-based characters should take on the fire form, while ice-based characters should deal with the ice form.
3. The Illusionist (Floor 3)
Phase 1: The Illusionist will create multiple copies of himself. Some illusions deal low damage, while others are far more dangerous. Watch for the Illusionist’s attack patterns to identify the real one.
Phase 2: Once the Illusionist is defeated, a wave of illusions will spawn, requiring players to clear them quickly while managing their health and positioning.
Strategy: Focus on one illusion at a time. DPS should identify the real Illusionist while tanks hold off the fake copies. Healers need to be cautious about AoE debuffs that can affect the party.
4. Abyssal Warden (Floor 4)
Phase 1: The Abyssal Warden uses heavy AoE attacks, such as sweeping fire strikes and summoning demon minions. The minions must be dealt with quickly, as they can overwhelm the group.
Phase 2: The Warden becomes more aggressive after losing health, and poison clouds will cover parts of the battlefield.
Strategy: Tanking classes should focus on keeping the Warden in place, while DPS clears minions. Healers should be ready to purify poison debuffs.
5. Taedal, the Sorcerer King (Floor 5)
Phase 1: Taedal uses a variety of magic attacks, including summoning elemental creatures and casting powerful AoEs. Healers need to keep the group alive during these attacks, as they deal massive damage.
Phase 2: After reaching 50% health, Taedal will summon multiple powerful minions to assist him. Players should focus on controlling the adds while avoiding his deadly AoE attacks.
Phase 3: Taedal’s final form is a whirlwind of arcane energy. Players must avoid his central area and deal with the summoned creatures before engaging Taedal directly.
Strategy: Focus on positioning to avoid AoEs. DPS should concentrate on Taedal while the rest of the party manages the adds.
Conclusion
Taedal’s Tower is one of the most complex and rewarding dungeons in cheap TL Lucent. With a multi-floor layout, diverse enemies, and challenging mechanics, it offers players a true test of skill and teamwork. By understanding the dungeon’s structure, mastering boss mechanics, and preparing for the challenges ahead, you can overcome the tower’s trials and earn valuable rewards.
Good luck, adventurer! May your path through Taedal’s Tower lead you to victory and legendary loot.